Spring is like a breath of fresh air, isn’t it? As the flowers bloom and the days get longer, my kitchen transforms into a vibrant haven filled with the scent of baked goods. There’s something so joyful about spring cakes! They’re not just delicious; they’re like edible works of art that celebrate the season. I remember the first time I made a colorful layer cake for a friend’s garden party. It was a hit! The way the layers of bright cake peeked through the frosting made everyone smile, and I felt like a proud parent watching my creation shine.
These *spring cakes ideas* are perfect for any celebration, whether it’s a birthday, a family gathering, or simply a sunny afternoon tea. You can play with colors and flavors, adding fresh fruits or floral decorations that capture the essence of spring. It’s all about bringing joy and brightness to the table. I often find myself experimenting with new flavors and frostings, and each bite reminds me that spring is all about renewal and creativity. So, grab your apron and let’s dive into making some delightful cakes that will bring cheer to your spring celebrations!
Ingredients List
Gathering the right ingredients is key to making these delightful spring cakes! Here’s what you’ll need:
- 2 cups all-purpose flour
- 1 1/2 cups sugar
- 1 cup unsalted butter, softened
- 4 large eggs
- 1 cup milk
- 2 tsp baking powder
- 1 tsp vanilla extract
- 1/2 tsp salt
- Food coloring (optional, but fun to use!)
- Frosting of your choice to top it off
Make sure your butter is softened—it helps create that lovely, fluffy texture we all adore. If you’re going for vibrant colors, don’t hesitate to grab your favorite food coloring. And remember, the frosting is where you can really let your creativity shine! Choose something that complements your cake flavors. The right blend of these ingredients will set the stage for a deliciously colorful cake, perfect for any spring celebration!
How to Prepare Instructions
Getting your spring cake just right is a delightful journey, and I’m here to guide you through every step! Trust me, once you see the final product, you’ll be so glad you followed this process. Let’s get started!
Preheat the Oven and Prepare Cake Pans
First things first, preheat your oven to 350°F (175°C). This is crucial because a properly preheated oven ensures your cake bakes evenly. While that’s warming up, grab your two 9-inch round cake pans. Greasing and flouring them is essential to make sure your cake slides right out after baking. I like to use a bit of unsalted butter to grease the pans, then sprinkle a little flour, shaking off the excess. You want a nice, even coating to prevent any sticking!
Mixing the Batter
Now, let’s dive into mixing the batter! In a large mixing bowl, cream together your softened butter and sugar until it’s light and fluffy. This usually takes about 2-3 minutes with a hand mixer or a stand mixer. You really want to whip in some air here, as it helps give your cake that lovely texture.
Once you’ve got that fluffy goodness, it’s time to add the eggs. Add them one at a time, mixing well after each addition. I can’t stress enough how important this step is—mixing thoroughly ensures your eggs are well incorporated, leading to a smoother batter. After the eggs, pour in the milk and the vanilla extract, giving it a gentle stir until combined.
Combining Dry Ingredients
In a separate bowl, mix together your all-purpose flour, baking powder, and salt. This step is important because it ensures the leavening agents are evenly distributed throughout the flour. Once that’s done, gradually add the dry ingredients to the wet mixture. I usually do this in three parts, alternating with the milk mixture. This prevents the batter from becoming too thick and helps maintain a nice, smooth consistency. You want to mix just until everything is combined—remember, overmixing can lead to a tough cake!
Adding Color and Pouring Batter
If you’re feeling adventurous and want to add some color, now’s the time! If you’re using food coloring, just add a few drops to the batter and mix until you achieve your desired shade. I love creating pastel colors for spring cakes—it’s like painting with cake! Once you’re happy with the color, it’s time to pour the batter into your prepared pans. Divide it evenly to ensure both cakes bake consistently. I usually use a spatula to scrape the sides of the bowl and get every last drop of that delicious batter into the pans!
Baking and Cooling
Pop those pans into your preheated oven and bake for about 25-30 minutes. To check for doneness, insert a toothpick into the center of the cake. If it comes out clean or with just a few crumbs attached, your cakes are ready! Once they’re done, pull them out of the oven and let them cool in the pans for about 10 minutes. After that, carefully turn them out onto a wire rack to cool completely before frosting. This cooling step is so important—if you frost too early, your frosting will melt, and nobody wants a gooey mess!
Why You’ll Love This Recipe
- Quick Preparation: With just 20 minutes of prep time, you can whip up a delightful cake that’s ready to impress!
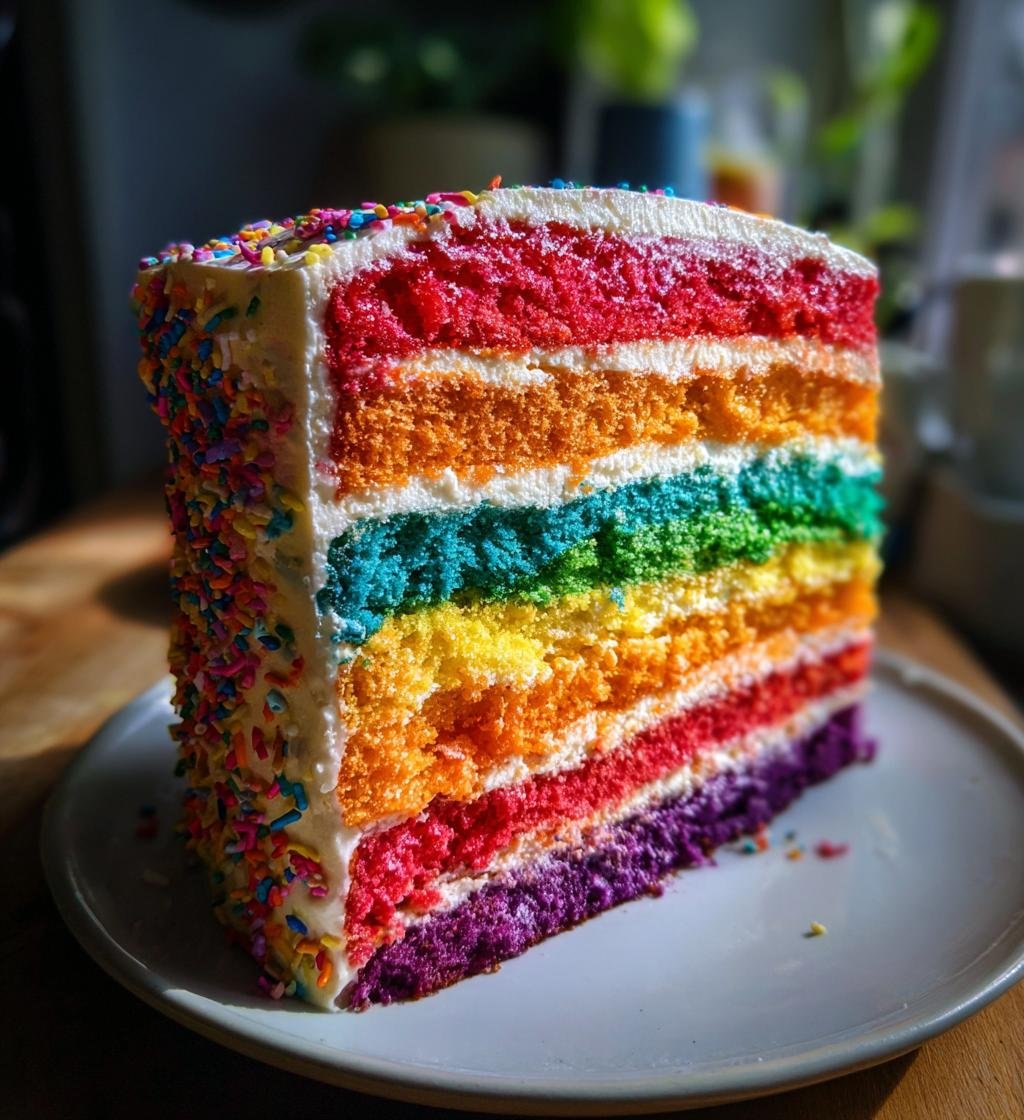
- Vibrant Presentation: This cake is a feast for the eyes! The colorful layers and decorations make it the perfect centerpiece for any spring celebration.
- Endless Adaptability: Whether it’s a birthday party, a baby shower, or a picnic, you can easily switch up flavors and frostings to fit the occasion.
- Fun to Customize: Get creative! Add fresh fruits, edible flowers, or unique flavorings to give your cake a personal touch.
- Family-Friendly: Kids love helping out in the kitchen, especially when it comes to mixing colors and decorating the cake!
This recipe not only brings joy but also allows for endless creativity, making it a go-to for any spring gathering!
Tips for Success
To make sure your spring cake turns out beautifully every time, here are some expert tips that I swear by!
- Use Room Temperature Ingredients: Make sure your butter, eggs, and milk are at room temperature before starting. This helps create a smoother batter and a fluffier cake.
- Measure Your Ingredients Accurately: Baking is a science! Use a kitchen scale or measuring cups to ensure you’re adding the right amounts. Too much flour can lead to a dense cake.
- Don’t Overmix: Once you add the dry ingredients to the wet mixture, mix just until combined. Overmixing can lead to gluten formation, which makes the cake tough.
- Cool Completely Before Frosting: I know it’s tempting to frost right away, but waiting until the cakes are completely cool prevents your frosting from sliding off.
- Experiment with Flavors: Don’t be afraid to add your twist! A splash of lemon juice or almond extract can elevate the flavor profile and make your cake unique.
These little tricks will help you create a stunning cake that’s as delicious as it is pretty. Happy baking!
Variations
The beauty of this spring cake recipe is that it’s just a starting point for your creativity! You can easily modify it to suit your taste or the season. Here are some fun ideas to get you inspired:
- Add Different Flavors: Swap out the vanilla extract for almond or lemon extract for a delightful twist. You could even infuse your cake with citrus zest for a refreshing flavor.
- Try Different Frostings: While a classic buttercream is always a hit, consider cream cheese frosting for a tangy touch or a whipped ganache for something decadent. You can also experiment with flavored frostings, like strawberry or chocolate!
- Incorporate Fresh Fruits: Fold in some fresh berries, like raspberries or blueberries, into the batter for bursts of flavor. You can also decorate the top with fruits or edible flowers for that lovely spring touch.
- Layer It Up: Make a multi-layered cake by baking additional layers. You can alternate colors or flavors in each layer for a stunning visual treat!
Remember, it’s all about what makes you happy in the kitchen. So, don’t be shy—let your imagination run wild and create a cake that’s uniquely yours!
Storage & Reheating Instructions
Storing your delicious spring cake properly will keep it fresh and tasty for days! Once the cake is fully cooled, wrap it tightly in plastic wrap or store it in an airtight container. This helps prevent it from drying out. You can keep it at room temperature for up to three days or in the fridge for about a week.
If you want to enjoy it later, you can freeze individual slices! Just wrap them in plastic wrap, then place them in a freezer bag. When you’re ready to indulge, let the slices thaw in the fridge overnight or pop them in the microwave for a quick 10-15 seconds to warm them up. Enjoy your delightful cake anytime!
Nutritional Information Section
When it comes to enjoying a slice of this vibrant spring cake, it’s good to know what you’re indulging in! Each serving of this delightful cake contains approximately:
- Calories: 350
- Sugar: 25g
- Sodium: 200mg
- Fat: 15g
- Saturated Fat: 9g
- Unsaturated Fat: 4g
- Trans Fat: 0g
- Carbohydrates: 50g
- Fiber: 1g
- Protein: 3g
- Cholesterol: 70mg
Keep in mind that these values can vary based on the specific brands and ingredients you choose, so it’s always a good idea to check your labels for the most accurate nutritional information. Enjoy your baking and celebrate the flavors of spring!
FAQ Section
Got questions? No problem! Here are some common queries I’ve heard about making these delightful spring cakes, along with my best answers.
- Can I substitute the butter for something else? Absolutely! While I love the richness of unsalted butter, you can use margarine or a dairy-free butter substitute for a similar texture. Just ensure it’s softened before creaming with sugar.
- What if I don’t have all-purpose flour? You can use cake flour for a lighter texture or whole wheat flour for a healthier option. Just keep in mind that whole wheat flour may give your cake a denser crumb.
- How can I make my frosting extra special? Try adding a splash of vanilla extract or a pinch of salt to your frosting for depth of flavor. You can also mix in some fresh fruit puree or citrus zest to brighten it up!
- What’s the best way to serve this cake? I love serving it with fresh fruit on the side or a scoop of whipped cream. It’s also fantastic with a drizzle of fruit sauce or a light dusting of powdered sugar for a pretty presentation.
- Can I make this cake ahead of time? Yes! You can bake the cake a day ahead and store it wrapped at room temperature. Just frost it on the day you plan to serve it to keep that frosting fresh and beautiful.
If you have any other questions as you dive into baking, feel free to reach out! Happy baking!
Print
spring cakes ideas: 7 Creative Ways to Delight Your Guests
- Total Time: 50 minutes
- Yield: 12 servings 1x
- Diet: Vegetarian
Description
Delicious and colorful cakes perfect for spring celebrations.
Ingredients
- 2 cups all-purpose flour
- 1 1/2 cups sugar
- 1 cup unsalted butter, softened
- 4 large eggs
- 1 cup milk
- 2 tsp baking powder
- 1 tsp vanilla extract
- 1/2 tsp salt
- Food coloring (optional)
- Frosting of choice
Instructions
- Preheat the oven to 350°F (175°C).
- Grease and flour two 9-inch round cake pans.
- In a bowl, cream together butter and sugar.
- Add eggs one at a time, mixing well after each addition.
- Mix in milk and vanilla extract.
- In another bowl, combine flour, baking powder, and salt.
- Gradually add the dry ingredients to the wet mixture.
- If desired, add food coloring and mix until combined.
- Pour the batter into prepared pans.
- Bake for 25-30 minutes or until a toothpick comes out clean.
- Let the cakes cool before frosting.
Notes
- You can customize the cake with different flavors.
- Try adding fresh fruits for decoration.
- Experiment with different frosting types.
- Prep Time: 20 minutes
- Cook Time: 30 minutes
- Category: Dessert
- Method: Baking
- Cuisine: American
Nutrition
- Serving Size: 1 slice
- Calories: 350
- Sugar: 25g
- Sodium: 200mg
- Fat: 15g
- Saturated Fat: 9g
- Unsaturated Fat: 4g
- Trans Fat: 0g
- Carbohydrates: 50g
- Fiber: 1g
- Protein: 3g
- Cholesterol: 70mg
Keywords: spring cakes ideas